Most players don’t realize better court coverage in singles starts before your opponent even hits the shuttle. If your base position is off, your split step is late, or your recovery is slow, you’ll always feel a step behind. You can cover more ground with less effort by adjusting a few key habits. The difference often comes down to details you’re probably overlooking.
Key Takeaways
- Stand slightly behind midcourt in a balanced base, with knees bent and racket up for quicker reactions.
- Time a small split step as your opponent hits to trigger explosive movement in any direction.
- Recover immediately after every shot, adjusting your base toward the opponent’s likely return instead of drifting to center.
- Read the opponent’s racket face, body rotation, and contact point to anticipate shots and move less.
- Use deep clears and controlled angles to regain position, protect the middle, and avoid unnecessary lunges.
Start With the Right Singles Base Position
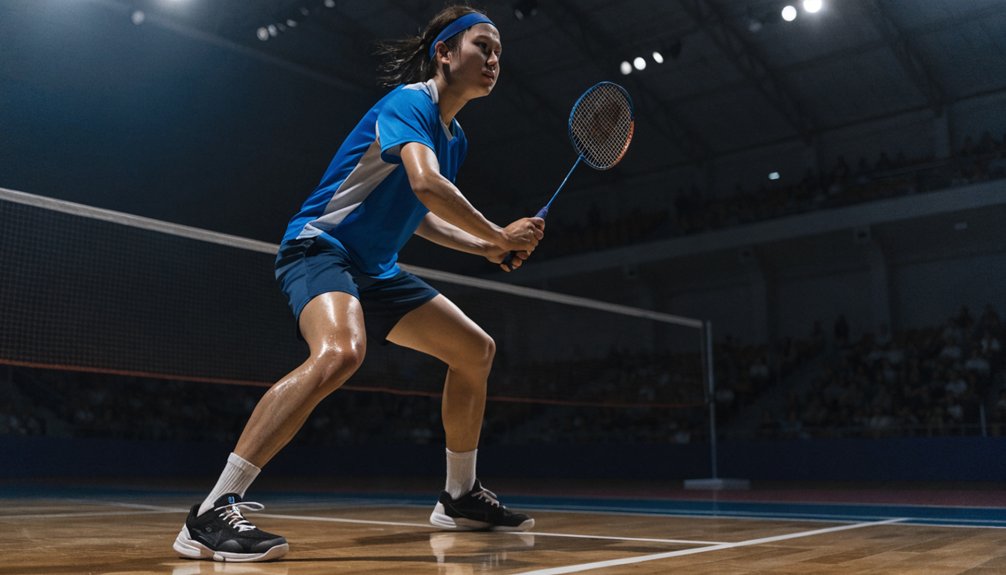
To cover the court efficiently, you need to recover to the right singles base position after every shot. In singles, that spot isn’t the exact center; it shifts slightly behind midcourt so you can reach deep clears without giving up the net. Your base position should also move left or right depending on where you played your last shot and your opponent’s likely reply.
Adopt an ideal stance as you reset: feet just wider than shoulder width, knees bent, weight balanced on the balls of your feet, racket up. A head light racket can also help you react faster in singles by improving maneuverability during recovery. Keep your torso relaxed and square enough to push in any direction. If you stand too upright or drift too far forward, you’ll lose time covering the rear court. Recover early, stay balanced, and make every first movement efficient and controlled.
Split Step So You Can Move Earlier
Good base position only works if you time your next move well, and that’s where the split step matters. You shouldn’t wait flat-footed after recovering. Instead, make a small, controlled hop as your opponent begins the hitting action, then land balanced on both feet, ready to react instantly in any direction.
The main split step benefits are earlier reaction, better balance, and quicker first movement. Focus on timing techniques, not height. If you jump too early, you’ll land and lose the advantage. If you jump too late, you’ll still be delayed. Watch your opponent’s racket preparation and aim to land exactly as contact is made. Keep the hop compact, stay relaxed through your hips and knees, and let the landing preload your legs so you can explode toward the shuttle immediately on every shot. Consistent footwork drills can improve your split step timing and overall court coverage in singles.
Use Efficient Footwork in Singles
Use efficient footwork to reach the shuttle faster and stay balanced for the next shot. Time your split step with your opponent’s hit, use chasse steps to cover the court smoothly, and avoid wasting motion. After every shot, recover to center so you’re ready to attack or defend the next rally. Knowing the singles court width can also help you judge movement distances more efficiently during rallies.
Split Step Timing
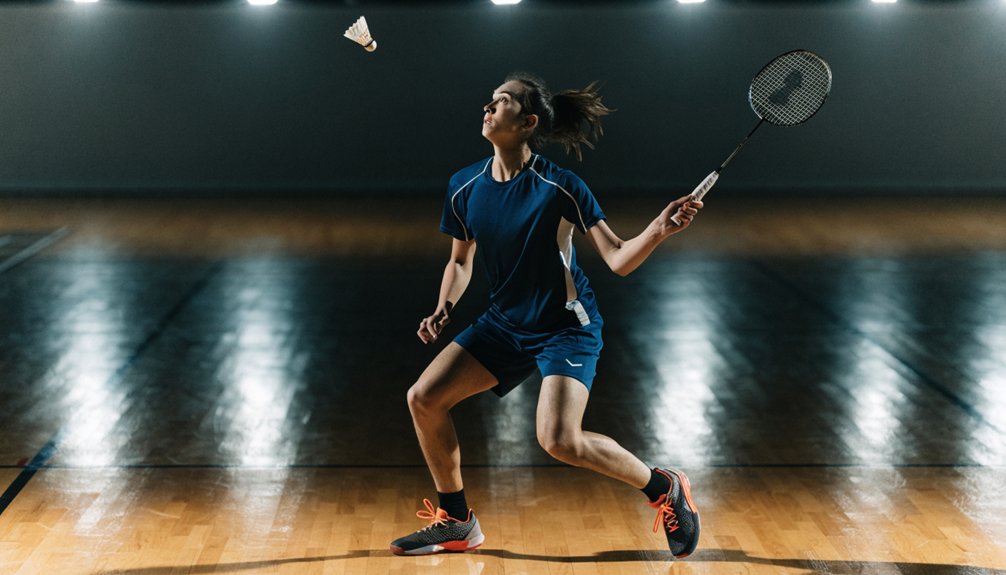
Because singles gives you less margin for wasted movement, your split step has to happen just as your opponent strikes the shuttle, not before or after. If you land early, you’ll get stuck flat-footed. If you land late, you’ll chase. Good split step mechanics mean a small hop, balanced posture, and weight on the balls of your feet so you can push instantly in any direction.
Train your eyes to read the racket action, then match your landing to contact. Start with shadow movement and partner feeding, focusing only on rhythm. Add timing drills where you react to clears, drops, and smashes without guessing. Keep the hop compact; it’s a trigger, not a jump. When your timing is sharp, your first step becomes faster, cleaner, and far less energy-draining over long rallies.


Recover To Center
Recover to base after every shot, but don’t drift to the exact middle by habit. Your recovery point should reflect the rally situation, your opponent’s options, and the quality of your last shot. If you’ve pushed them deep, you can hold a slightly advanced base. If your shot is weak, recover a step farther back to protect the rear court.
Good court positioning cuts down chasing and improves movement efficiency. Return with balance, keep your racket up, and square your body so you can move either way immediately. Don’t admire your shot or pause after contact; recover as part of the stroke. In singles, smart recovery isn’t automatic centering—it’s adjusting your base so the next interception is shorter, faster, and under control against stronger attackers too.
Use Chasse Steps
Glide with chasse steps whenever you need to cover lateral distance without losing balance or readiness. In singles, this footwork keeps your base stable while letting you move quickly to either sideline. Push off your outside leg, bring your trailing foot in, then drive again, staying low and light. You’ll arrive prepared to hit instead of scrambling at the last second.
Use chasse steps most often for medium-distance recovery and side-to-side rallies, especially when you still have time on the shuttle. One of the main chasse step benefits is that you can stop, plant, and change direction fast without crossing your feet. That control supports cleaner strokes, quicker recovery, and better offensive movement. Practice the rhythm until it feels automatic, then blend it with lunges and split steps during pressure points.
Reach Singles Shots With Fewer Steps
Two small adjustments let you cover singles shots with fewer steps: start from a balanced base and take a sharper first move. If your stance is even and your weight is slightly forward, you can push explosively in any direction instead of wasting time resetting your feet. Pair that with better shot anticipation, and you’ll arrive earlier without sprinting harder.
Your first step should be decisive, not tentative. Read your opponent’s racket face, body line, and contact point, then commit immediately. For wide replies, drive off the outside leg and use efficient lateral movement rather than extra shuffles. Keep your steps long enough to gain ground, but controlled enough to preserve balance into the hit. Fewer, cleaner steps mean you reach the shuttle sooner and strike with more options. A lightweight racket with enhanced maneuverability can also support quicker reactions and cleaner shot placement during fast singles exchanges.
Recover to Base After Every Shot
After each shot, get back toward your base so you’re ready for the next reply instead of reacting late from the wrong spot. Recovery keeps you balanced, cuts down scrambling, and lets you cover both sidelines without guessing. Don’t admire your shot; push off immediately and reset your stance.
Your base isn’t fixed. Adjust it slightly based on shot placement, your opponent’s options, and your court awareness. If you’ve forced a weak reply, hold a touch farther forward. If your shot gives them angles, recover more centrally. Keep your racket up, feet active, and weight on the balls of your feet so you can move in any direction. Strong recovery also helps you stay composed against mind games, since good positioning reduces panic and rushed decisions under pressure. The goal is simple: arrive early, stay composed, and make the next movement efficient rather than desperate under pressure during longer rallies.
Move to the Rear Court Without Losing Balance
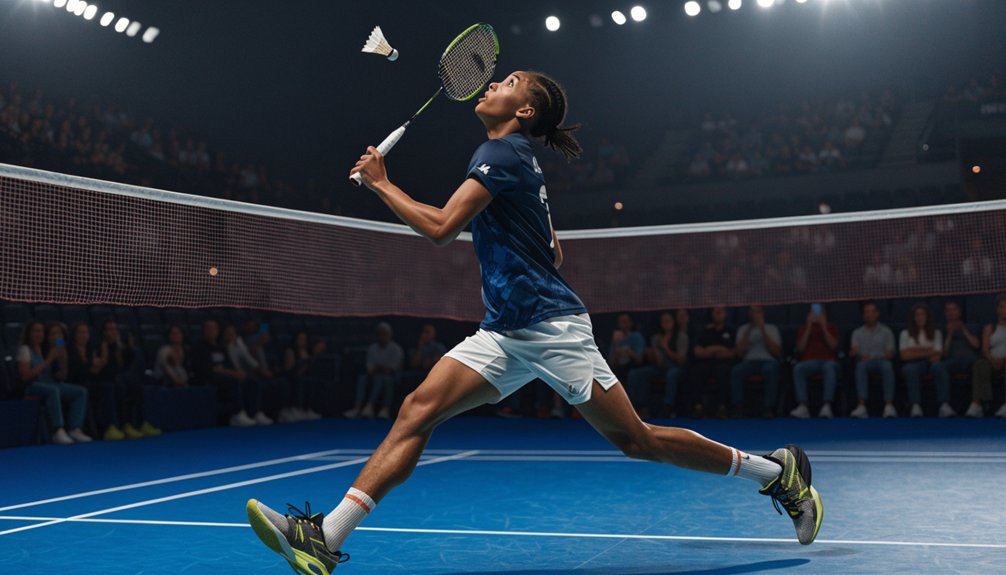
To cover the rear court efficiently, you need explosive backward footwork that gets you behind the shuttle without rushing your swing. Use stable recovery steps so you stay under control and can reset quickly after the shot. When you reach the shuttle, keep a balanced overhead position so you can hit cleanly and recover without losing your base. Using a head-light racket can also improve quick rear-court adjustments by increasing maneuverability and reducing fatigue.
Explosive Backward Footwork
Explode off your base with a quick split step, then push from your racket leg so you move back fast without leaning or crossing your feet too early. Keep your chest tall, hips loaded, and first movement sharp, so your backward explosiveness comes from the floor instead of from a desperate reach.
Use a chasse or scissor action depending on shuttle depth, but keep each step compact and directed. You shouldn’t drift sideways unless the angle demands it. Drive your non-racket arm slightly back to steady rotation and help you turn efficiently under pressure. Practice shadow patterns and agility drills that emphasize quick rear-court acceleration, clean spacing, and immediate preparation for the overhead. If you stay low through the push and rise only into the final stride, you’ll reach deep shots earlier and hit with better control.
Stable Recovery Steps
When you move to the rear court, your recovery steps have to bring you back under control, not just get you there fast. After your initial push, shorten the final steps so you can decelerate smoothly. Keep your hips lowered, chest quiet, and weight centered over your base. That helps you arrive in a stable stance instead of drifting or leaning.
Use recovery techniques that match the distance traveled. On deeper movements, let your last step absorb momentum, then plant with purpose. On medium depth, avoid overstriding and keep your feet active so you can adjust late. As soon as you settle, begin your return with a small push off the outside leg. If your steps stay compact and organized, you’ll cover the rear court without sacrificing balance or readiness.
Balanced Overhead Position
As you move into the rear court, your overhead position has to stay balanced so the stroke doesn’t pull you off line. You need your chest upright, non-racket arm guiding, and weight centered as you turn side-on. Keep the overhead grip relaxed so you can adjust late without tightening your shoulder. Efficient swing mechanics start from stable feet, not rushed arm action.
- Load your outside leg before contact.
- Keep your head still through the hit.
- Let your racket elbow lead upward.
- Land with control, ready to recover.
If you lean backward or overreach, you’ll lose power and delay your next step. Strike at full reach, then let your torso unwind naturally. That sequence keeps your shot clean, your balance intact, and your court coverage much more reliable under pressure.
Get to Tight Net Shots Earlier
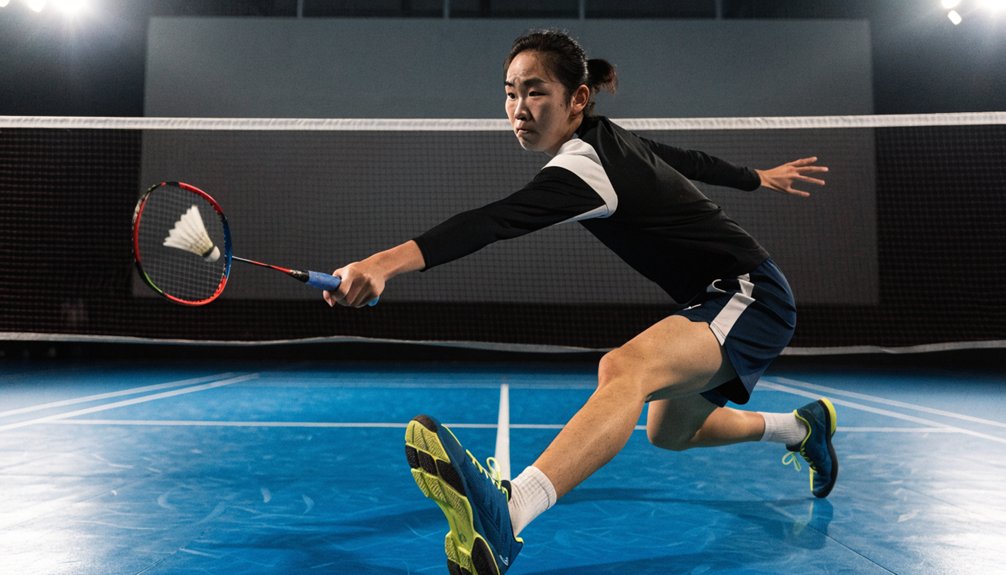
To reach tight net shots earlier, you need to read your opponent’s setup sooner and recover with your base slightly forward after you play a softer rally shot. That small adjustment shortens your first step and supports better net shot strategy without overcommitting.
| Cue | Your move | Benefit |
|---|---|---|
| Soft reply | Base forward | Quicker launch |
| Higher lift | Split earlier | Faster approach |
| Loose net return | Lunge decisively | Earlier contact |
Keep your split step light, then push off instantly with your racket leg. Using the right grip principles at the net can improve control and help you take the shuttle earlier. Aim to contact the shuttle in front of your body, as high as possible, so you can spin it down or play a controlled lift if needed. Build anticipation skills by linking your own shot quality to your recovery distance and timing. That helps you attack shorter replies earlier.
Read Your Opponent Before They Hit
Getting to the shuttle earlier starts with seeing the shot before it leaves your opponent’s racket. Strong court coverage depends on opponent anticipation, not just speed. You can gain precious time by reading cues during their preparation phase, before contact. Focus on these signals:
- Racket face: open suggests lift or clear; closed often means smash or drive.
- Shoulders and hips: where they turn usually reveals the likely direction.
- Contact point: early, high contact often means pressure; late contact limits options.
- Recovery habits: repeated patterns expose preferred replies under stress.
Don’t stare at the shuttle alone. Scan the body, racket, and timing together. The more consistently you recognize patterns, the sooner you’ll move decisively, stay balanced, and cover space with less panic and effort overall. Watching elite singles matches on BadmintonWorld.TV can help you study these preparation cues in real match situations.
Choose Singles Shots That Protect Your Base
In singles, your safest default is a deep clear that pushes your opponent back and gives you time to recover to base. You should use angles with control, not excess risk, so you don’t pull yourself too far out of position. If a shot makes your return to base harder, it’s usually the wrong choice. A racket with a Dual Optimum system can also improve stability and maneuverability, helping you recover to base more efficiently after each shot.
Deep Clears First
Start with deep clears when you’re under pressure, because they buy time, push your opponent to the back, and help you recover to base. In singles, that extra second matters. If you’re late, stretched, or off balance, don’t force attack. Choose height and length instead.
- Hit high and deep to reset the rally.
- Aim near the back tramlines for safer deep clear placement.
- Recover immediately to your base after contact.
- Use the same setup to disguise your reply.
These deep clear strategies protect your court without gambling on low-percentage winners. You make your opponent move farther, strike later, and attack from a worse position. When your clears consistently reach the rear court, you control tempo, reduce pressure, and give yourself the best chance to defend the next shot.
Controlled Angles Only
When you choose angles in singles, keep them controlled enough that you can still recover to base on the next step. Sharp winners look tempting, but extreme sidelines often pull you too far out of position if the shuttle comes back. Use controlled shot selection to create pressure without sacrificing balance, especially from neutral rallies.
Aim your drops, pushes, and smashes slightly inside the lines so you can cover the straight reply and still move for the crosscourt option. Smart angle manipulation isn’t about maximum width every time; it’s about choosing trajectories that open space while preserving your recovery path. If you’re late, reduce the angle and play safer through the middle channels. You’ll force another shot, stay organized, and make your opponent work harder to beat your positioning on court.
Fix Common Singles Coverage Mistakes
Because singles punishes every extra step, most coverage mistakes come from poor base position, late recovery, or chasing shots you should let go. To fix them, make your movement serve your shot selection strategy, not your panic. Recover to a slightly forward base after clears, and a central base after smashes or drops. Use these defensive positioning tips to cut off the highest-percentage reply.
- Stop drifting backward after attacking; recover immediately.
- Don’t overcommit to the sideline; protect the middle first.
- Split-step earlier so you react on your opponent’s contact.
- Leave marginal shots that are clearly sailing long.
You’ll cover more court by moving less, but moving sooner. Read your own last shot, expect the logical return, and let disciplined recovery replace desperate lunges during long rallies. Choosing a racket with the right weight and balance can also make recovery steps quicker and more controlled in singles.
Frequently Asked Questions
How Often Should I Practice Singles-Specific Movement Drills Each Week?
You should practice singles-specific movement drills 3–5 times weekly, depending on your level and recovery. Focus on footwork patterns and agility drills, keeping sessions short, sharp, and consistent so you improve speed, balance, and court efficiency.
What Racket Balance Helps Most With Singles Court Coverage?
You’ll usually cover singles best with an even-balance or slightly head-light racket, letting you react faster. Pair suitable racket weight with moderate string tension, so you maintain maneuverability, control, and recovery speed across every rally.
Can Shoe Grip Affect My Speed in Badminton Singles?
Yes, your shoe grip can directly boost or limit your singles speed. Choose shoe selection matched to the court surface; too much grip slows pivots, too little causes slips. You’ll move faster with balanced traction.
How Does Fitness Training Improve Singles Court Coverage Endurance?
Fitness training improves your singles court coverage endurance by boosting recovery, movement efficiency, and late-rally stability. Use agility drills to sharpen directional changes, and strength training to support explosive pushes, balanced lunges, and sustained speed.
Should Beginners Focus on Singles or Doubles Movement First?
You should start with doubles movement first, because you’ll build positioning, communication, and quicker reactions. Then add singles strategies to improve coverage and stamina. Doubles advantages make learning less overwhelming, so you’ll develop confidence and court awareness.