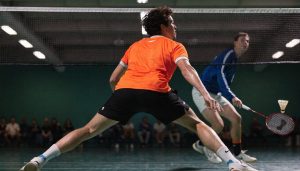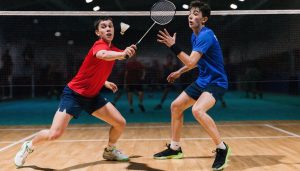
Move, land, recover: that sequence determines how quickly you can control the next rally. You won’t recover faster by rushing blindly; you’ll do it by preparing before contact, timing your split step, and returning to an efficient base with balance intact. Each shot demands a slightly different recovery pattern, especially from the rear court, the net, and defense. If your first step often feels late, the next sections will show you where time is really being lost.
Key Takeaways
- Start from a balanced base with feet slightly wider than shoulders, knees bent, and racket prepared compactly.
- Time your split step to land as your opponent hits, staying on the forefoot for a faster first push.
- Begin recovery as soon as you strike, using small adjustment steps to return to the most useful central base.
- After rear-court and net shots, land under control, keep your chest balanced, and drive back explosively off the landing leg.
- Keep your racket up, center of gravity low, and non-racket arm active to maintain balance and react quickly.
Prepare Before Contact for Faster Recovery
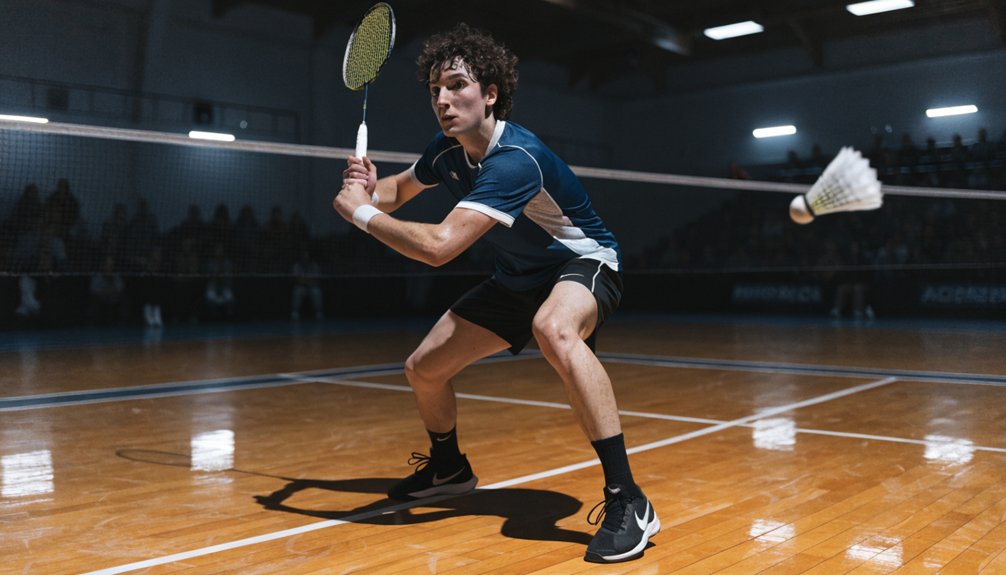
Before you hit, start your recovery by organizing your body for the next movement. Set your base slightly wider than shoulder width, keep your center of mass balanced, and align your hips and chest so you can decelerate efficiently after contact. Your racket preparation should stay compact, because oversized backswings delay repositioning and compromise control.
Use preparation techniques that connect shot selection with body management. As you track the shuttle, preload your legs, stabilize your trunk, and keep your non-racket arm active for balance. At contact, avoid overcommitting your weight unless the tactical reward is clear. You’ll recover faster when your stroke finishes under control, not with excess rotation or drift. Maintain mental focus on the opponent’s options so your follow-through supports immediate court coverage instead of forcing a delayed, inefficient response. Staying composed against mind games can also improve recovery, because distraction often slows your first step and delays repositioning.
Use a Split Step for Badminton Recovery
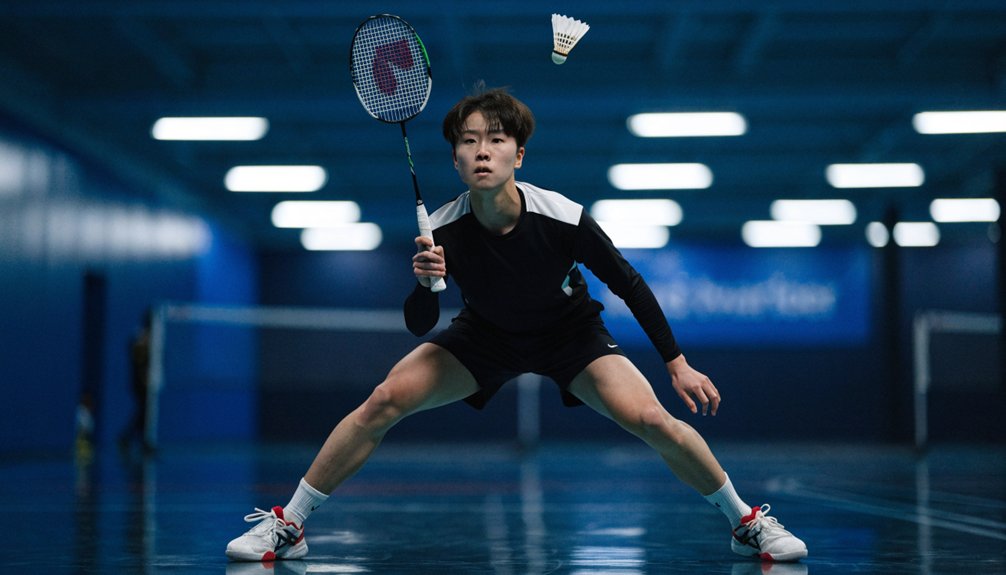
Although recovery happens after your shot, the split step is what lets you change from landing to movement without losing time. You shouldn’t treat it as a jump; it’s a timed preload that organizes your next push. Used correctly, it sharpens reaction and stabilizes posture under pressure.
- Land as your opponent contacts the shuttle.
- Keep feet just wider than shoulders.
- Stay on your forefoot, heels light.
- Flex ankles, knees, and hips together.
- Push instantly toward the shuttle’s line.
These footwork techniques create elastic readiness, so you can absorb momentum and redirect efficiently. One of the main split step benefits is directional neutrality: you aren’t committing early, yet you aren’t static. Keep the action compact, balanced, and synchronized with visual cues, and your first movement becomes faster, cleaner, and more reliable. Consistent footwork drills can further improve your movement speed and agility, making each recovery step more efficient.
Return to Base After Every Shot
Once you’ve completed the shot, recover toward your base position instead of watching the shuttle or drifting sideways. Your first movement should be efficient and direct, using small adjustment steps to re-center relative to your opponent’s likely reply. Good base positioning doesn’t mean returning to one fixed spot every time; it means choosing the most useful central location based on where you hit from and what options you’ve left open.
Keep your chest balanced, racket up, and feet active so you’re ready to push in any direction. Dynamic stretches and mobility drills can improve the movement quality that makes this recovery step quicker and more balanced. This recovery habit improves shot anticipation because you arrive earlier and can read cues without being off-balance. If you linger after contact, you surrender time and court coverage. Reset immediately after every rallying shot, and you’ll defend shifts and pressure exchanges more consistently overall.
Recover Faster After Rear-Court Shots
After a rear-court shot, you need a balanced landing position so you can decelerate efficiently and push off without losing time. You should also time your split step as your opponent strikes, which helps you load your legs and react to the next direction change. From there, return to base immediately with controlled footwork so you can reestablish ideal court coverage. Knowing the court dimensions can also help you judge your recovery path more accurately and cover space more efficiently.


Balanced Landing Position
A balanced landing gives you the quickest route back to base after a rear-court shot. If you land poorly, your recovery starts with correction instead of movement. You need controlled foot placement and stable body alignment so momentum transfers forward, not sideways or backward. Focus on these essentials:
- Land on the ball of your non-racket foot first to absorb force cleanly.
- Keep your racket foot ready to push, not drifting behind your center of mass.
- Let your hips and shoulders square enough to support the next recovery step.
- Maintain a slight knee bend to store elastic energy and protect balance.
- Keep your torso tall, with your head steady over your base of support.
When you finish the stroke, think “land organized.” That single cue sharpens stability, shortens recovery distance, and improves court coverage.
Split Step Timing
While your landing sets the platform, your split step determines whether you can react on time to the opponent’s reply. After a rear-court shot, initiate a compact hop as your opponent starts their forward swing, not after contact. That’s the split step importance: you preload both legs, lower your center of mass, and stay direction-neutral. Effective timing strategies depend on reading racket preparation and shuttle height without guessing.
| Cue | Action |
|---|---|
| Opponent sets feet | Stay light |
| Racket draws back | Prepare hop |
| Forward swing starts | Split now |
| Contact made | Push efficiently |
| Late read | Use shorter split |
If you split too early, you’ll stall; too late, you’ll chase. Keep the hop minimal, heels unloaded, and your first push explosive and balanced.
Return To Base
Once you’ve completed the rear-court stroke and landed under control, recover toward your base with measured urgency rather than sprinting blindly to center. Your return should match shot selection, preserving movement efficiency and energy conservation while restoring base positioning for the opponent’s likely reply.
- Push off the landing leg with footwork agility, not panic.
- Adjust base positioning using court awareness and spatial orientation.
- Shorten or extend recovery rhythm based on your shot anticipation.
- Keep mental focus on the opponent’s racket preparation and options.
- Stop where balance supports immediate direction change.
If your clear or smash was strong, recover slightly forward; if your lift was pressured, stay deeper. This strategic recalibration improves coverage, sharpens shifts, and prevents overrecovery. Efficient return-to-base mechanics let you defend, intercept, or counterattack without wasting steps after every rear-court exchange.
Recover Faster After Net Shots
After playing a net shot, push back to base immediately instead of admiring the result, because your recovery window is shortest near the tape. Keep your racket up, chest balanced, and landing leg loaded so you can spring out without delay. Efficient net shot strategies depend on recovering before your opponent contacts the shuttle.
Use quick footwork: lunge, stabilize, then drive off the front leg with a compact first step backward. Don’t stand upright after the touch; stay low enough to react to a tight reply or a fast push past you. Recover diagonally toward your ideal base, not straight backward, so you cover both forecourt corners and the midcourt channel. If your net shot is loose, recover even faster and slightly wider, anticipating an immediate counterattack from your opponent. A secure grip adjustment during the net shot can also improve control and help you recover faster into the next movement.
Recover After Lifts, Blocks, and Defense
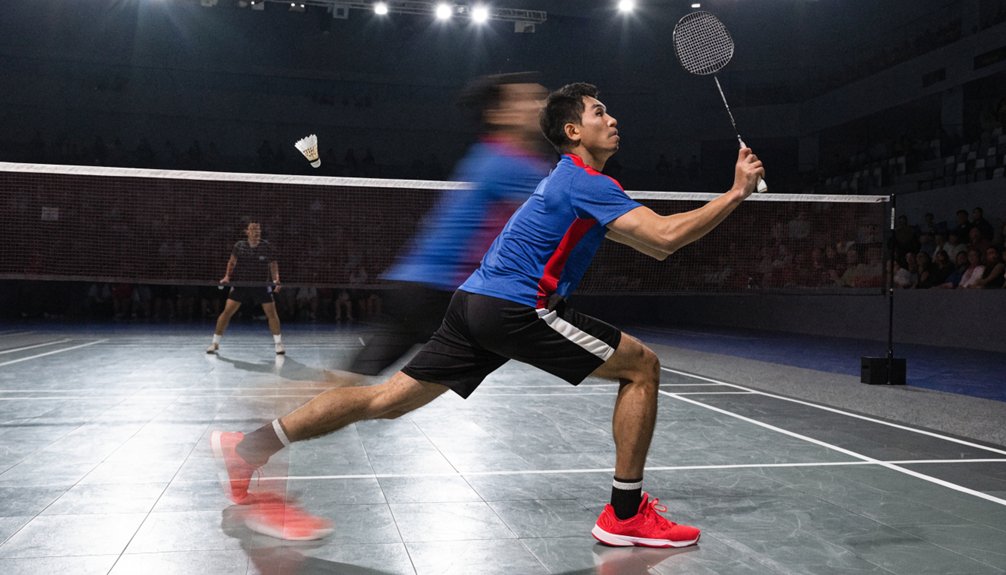
After a lift, you must recover with a balanced split step and reposition to a base that matches your shot’s length and your opponent’s likely contact point. After a block or defensive return, don’t stay planted; reset your stance immediately, keep your racket up, and adjust forward or back based on the opponent’s attacking options. If your recovery is late or off-line, you’ll give away the next angle and lose control of the rally tempo. Using a head-light racket can improve recovery speed because its weight at the handle enhances maneuverability for quicker reactions and court adjustments.
Recover After Lifts
Because a lift usually gives your opponent time to attack, your recovery has to start the moment the shuttle leaves your strings. Your goal is to regain base with balanced posture, efficient footwork, and early racket readiness, so your shot preparation supports movement efficiency before the next contact.
- Push off immediately from your striking leg.
- Recover with small chasse or crossover steps.
- Keep your center of gravity slightly lowered.
- Bring the racket up in front, not trailing.
- Stop with a split step as they hit.
If your lift is straight and deep, recover slightly behind your central base because their steep reply is likelier. If it’s crosscourt, expect more angle and recover wider without drifting backward too far. Don’t admire the shot; recover through it, then stabilize with your feet underneath your hips.
Reset From Defense
Two things define a good defensive reset: how quickly you regain balance and how well you restore neutral court coverage. After a lift, block, or driven defense, don’t admire the shot. Push off your outside leg, recover with small adjustment steps, and re-center your base under control. Keep your racket up, shoulders relaxed, and hips loaded so your defensive posture stays active.
Your recovery depth depends on the opponent’s options. After a high lift, retreat slightly and square your stance for smash defense. After a tight block, step in, then stop on balance so you can cover net and push replies. Against fast exchanges, prioritize quick shifts: split step early, stabilize before contact, and avoid crossing your feet unless you’re clearly beaten wide. Reset first, then react.
Fix Balance Errors That Delay Recovery
When your balance breaks at the end of a shot, recovery slows because you have to re-stabilize before you can push back to base. Most delays come from mechanical faults you can correct immediately with better body alignment and timing. Use balance training and posture correction to keep your center of mass controlled after contact. A racket with a Dual Optimum system can improve stability and maneuverability, helping you recover into position more efficiently after each stroke.
- Land on a wider base, not a crossed stance.
- Keep your chest stacked over your hips and knees.
- Let the non-racket arm counterbalance rotational momentum.
- Finish lunges with heel-to-toe pressure, not collapsed ankles.
- Decelerate the swing so your torso doesn’t over-rotate.
You should feel loaded, not falling, after each stroke. If your head drifts outside your base, your first recovery step becomes reactive instead of explosive. Stable endings produce faster, cleaner movement to the next shuttle.
Train Badminton Recovery With Simple Drills
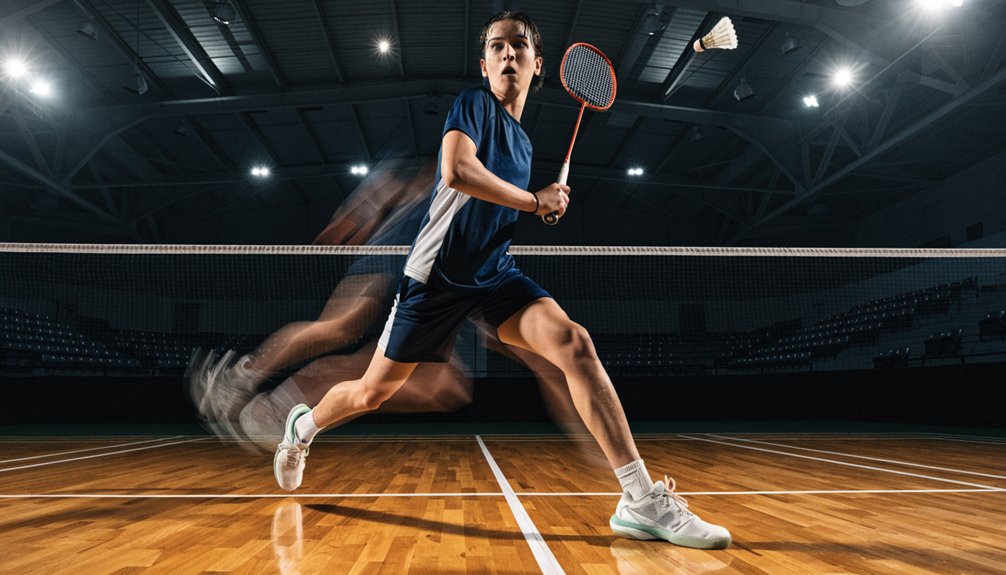
Start with repeatable footwork drills that isolate the recovery phase, not just the shot itself. Practice shadow patterns: lunge, hit, push off, then return to base under control. Add split-step timing before each movement to sharpen shot anticipation and reduce dead time. A racket with the right balance can also make recovery smoother by improving control during quick direction changes.
| Drill | Focus |
|---|---|
| Shadow six-point | Base return speed |
| Lunge-push repeats | First recovery step |
| Split-step cue drill | shot anticipation |
| Feed and recover | footwork techniques |
Use short intervals: 20 seconds work, 20 seconds rest, six rounds. Keep your chest stable, racket up, and hips loaded for the next direction change. If you drift after contact, pause and reset your base position before repeating. You’ll build cleaner mechanics first, then layer speed without sacrificing balance or court coverage under pressure during longer rallies.
Frequently Asked Questions
How Does Racket Weight Affect Recovery Speed After Shots?
Heavier rackets usually slow your recovery because you’ll generate more inertia after contact; lighter ones let you reset faster. You should match racket balance and refine swing technique to minimize follow-through and improve readiness.
Can Shoe Choice Improve Recovery and Reduce Slipping?
Yes—your shoe choice can improve recovery and reduce slipping. Prioritize shoe traction for secure push-offs, and sole flexibility for efficient forefoot loading. You’ll change direction faster, stabilize landings better, and waste less corrective movement.
Does Doubles Positioning Change Recovery Compared With Singles?
Yes—like pit crews shaving seconds, you’ll recover differently in doubles. Doubles dynamics demand shorter, lateral resets and partner-aware positioning strategies, while singles requires deeper central recovery. You’ll prioritize interception angles over full-court coverage, reducing movement.
How Long Does It Take to Build Automatic Recovery Habits?
It usually takes 6–12 weeks to build automatic recovery habits, though you’ll improve sooner. You’re training automatic reflexes and muscle memory through high-repetition, game-speed practice; consistency, feedback, and precise footwork patterns accelerate retention markedly.
What Common Injuries Can Poor Recovery Technique Cause?
Poor recovery technique can cause muscle strains, joint pain, and ankle sprains, especially when you don’t re-center efficiently. It also disrupts fatigue management, increasing cumulative stress, reducing stability, and making your movement mechanics progressively less reliable.